
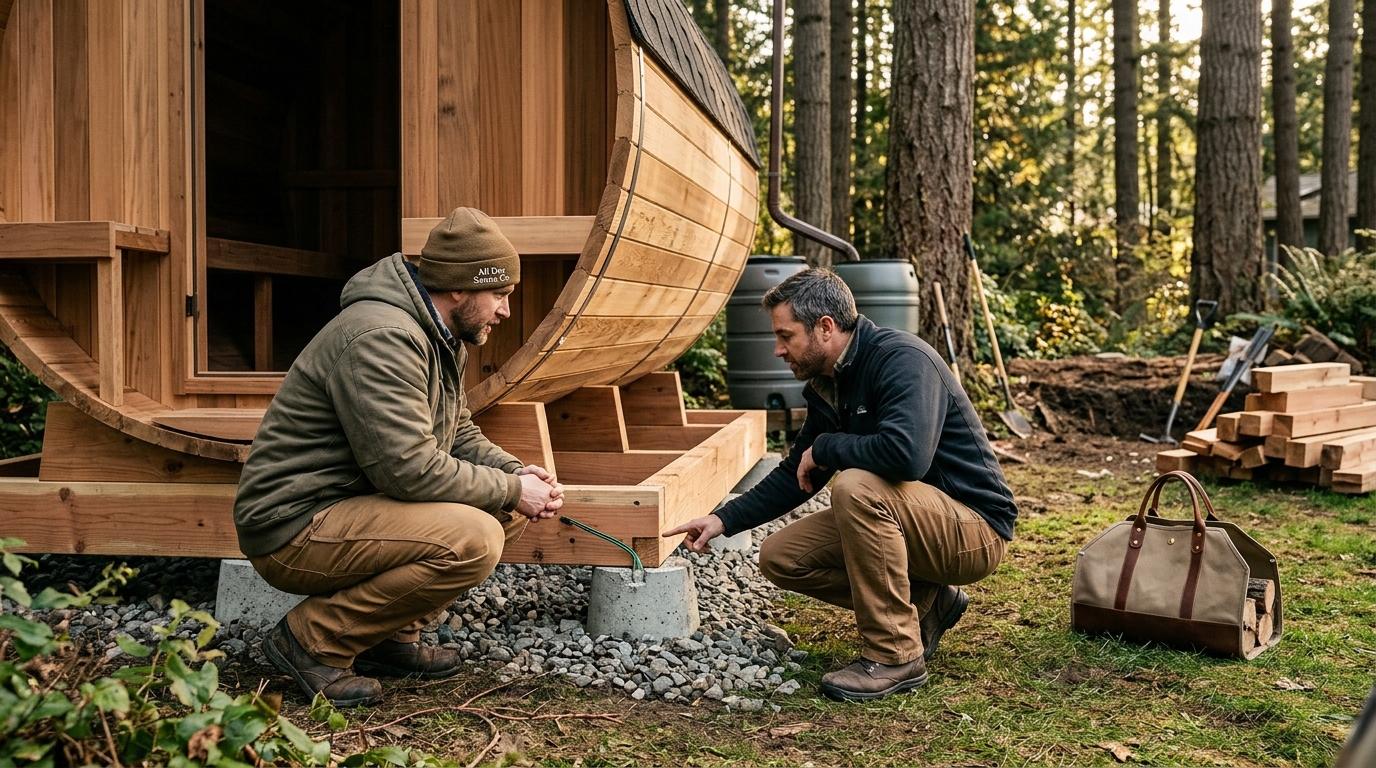
Installing a backyard sauna is a significant investment in personal wellness and property value. However, the gap between a relaxing retreat and a costly renovation disaster often lies in the details of installation and long-term care. According to industry data on outdoor structure longevity, improper ventilation and foundation settling account for nearly 40% of premature wood degradation in outdoor saunas. This statistic highlights why professional guidance is not just a luxury but a necessity for durability. At All Day Sauna Co., we have observed that homeowners frequently overlook critical environmental factors before the first plank is laid. This guide outlines the most frequent errors and provides the corrective strategies needed to ensure your sauna remains a functional sanctuary for decades.
Foundation and Site Preparation Errors
The stability of your sauna begins with the ground beneath it. A common mistake is placing a sauna directly on uneven grass or dirt. This leads to moisture wicking into the wood and structural instability. The foundation must be level, solid, and capable of supporting the significant weight of the heater, rocks, and occupants. (Shop All ndash All)
Concrete Slabs vs. Pavers
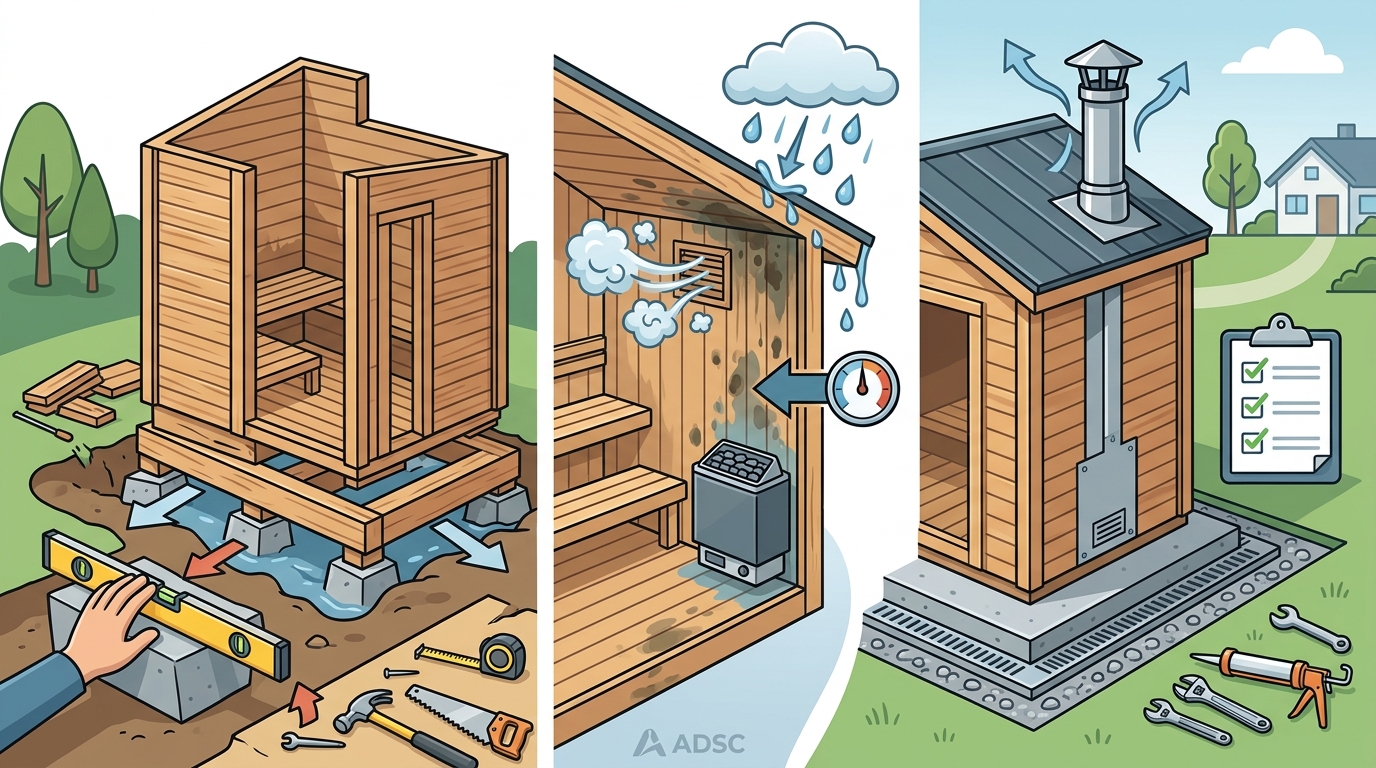
Homeowners often choose between concrete slabs and pavers without considering drainage. A concrete slab must be sloped slightly away from the sauna to prevent water pooling. Pavers offer better drainage but require a compacted gravel base to prevent shifting. If the base shifts, the sauna frame can twist, causing doors to misalign and seals to fail.
Clearance and Safety Zones
Another critical error is ignoring clearance requirements. Saunas generate intense heat. Placing the unit too close to fences, decks, or overhanging branches creates a fire hazard and can damage surrounding property. Always maintain the manufacturer's recommended clearance distance, typically at least three feet from any combustible structure.
Ventilation and Airflow Missteps
Ventilation is the lungs of your sauna. Without proper airflow, moisture accumulates, leading to mold, mildew, and rot. Many installers neglect the intake and exhaust vents, assuming the door gap is sufficient. This is a fatal error.
The Intake Vent
The intake vent must be located near the floor, outside the sauna. This allows fresh, cooler air to enter, which is then heated and rises. Blocking this vent starves the heater of oxygen and reduces efficiency. Ensure the vent remains unobstructed by snow, leaves, or furniture.
The Exhaust Vent
The exhaust vent is typically located near the ceiling on the opposite wall from the heater. This creates a convection current that circulates air evenly. If the exhaust is blocked or improperly sized, humidity will remain trapped inside the cabin. This trapped moisture is the primary enemy of cedar and hemlock, the woods most commonly used in sauna construction.
Electrical and Heating System Risks
Electrical issues are the most dangerous aspect of sauna installation. Incorrect wiring can lead to equipment failure or electrical fires. The heater must be connected to a dedicated circuit that matches its voltage and amperage requirements.
Wiring and Junction Boxes
Never use standard household outlets for a sauna heater. The connection must be made through a weatherproof junction box located outside the sauna. This box protects the electrical connections from the high humidity and temperature fluctuations inherent in sauna environments. Using standard indoor wiring inside the sauna is a code violation and a safety risk.
Thermostat Placement
The thermostat should be mounted on the wall near the heater, but not directly on it. If placed too close, it will read the heater's surface temperature rather than the air temperature, causing the heater to cycle off prematurely. This results in a sauna that never reaches the desired heat level, leading to user frustration and inefficient energy use.
Wood Care and Finish Neglect
Outdoor saunas are exposed to UV rays, rain, and snow. The wood must be protected to maintain its integrity and appearance. A common mistake is assuming that cedar is naturally waterproof. While cedar is resistant to rot, it is not immune to UV damage. Without a finish, the wood will gray and crack over time.
Applying Sauna Oil
Apply a high-quality sauna oil or sealant annually. This penetrates the wood, repelling water and preventing drying out. Look for products that are specifically formulated for high-heat environments. Standard exterior paint or stain can peel and flake under the intense heat of a sauna, creating a mess and exposing bare wood to moisture.
Interior Maintenance
The interior of the sauna requires less frequent finishing than the exterior. However, it must be cleaned regularly to remove sweat, body oils, and mineral deposits from the rocks. Use a mild soap and water solution. Avoid harsh chemicals that can damage the wood or leave toxic fumes when heated.
Essential Accessories for Longevity
The right accessories enhance the sauna experience and protect the investment. At All Day Sauna Co., we emphasize the importance of sauna hats and proper ladles. These items are not just conveniences; they are functional tools that improve safety and comfort.
Sauna Hats and Ladles
A sauna hat protects your hair from the intense heat and allows you to stay in longer. A proper ladle is essential for pouring water on the rocks to create steam (lohi). Using inappropriate items can damage the rocks or the heater element. We offer a range of premium wool and mesh sauna hats designed for durability and comfort.
Thermometers and Hygrometers
Monitoring the temperature and humidity is crucial for optimal sauna health. A digital thermometer and hygrometer help you maintain the correct environment. If humidity levels are too high, increase ventilation. If the temperature is inconsistent, check the heater and thermostat.
Comparison of Maintenance Needs
| Maintenance Task | Frequency | Impact of Neglect | Recommended Product |
|---|---|---|---|
| Exterior Wood Oil | Annually | UV damage, graying, cracking | Premium Sauna Oil |
| Interior Cleaning | Monthly | Mold, mildew, odor | Mild Soap and Water |
| Vent Inspection | Seasonally | Poor airflow, moisture buildup | Visual Inspection |
| Rock Replacement | Every 3-5 Years | Reduced heat output, debris | Sauna Rocks |
Key Takeaways
- Foundation is Critical: Always use a level, solid base like concrete or pavers to prevent structural shifting and moisture damage.
- Ventilation is Non-Negotiable: Proper intake and exhaust vents are essential to prevent mold and rot in outdoor saunas.
- Electrical Safety First: Use a dedicated circuit and a weatherproof junction box for all sauna heater connections.
- Wood Protection: Apply sauna oil annually to protect exterior wood from UV rays and weathering.
- Use Proper Accessories: Invest in sauna hats and ladles to enhance comfort and protect the heater.
- Regular Monitoring: Use a thermometer and hygrometer to maintain optimal temperature and humidity levels.
- Professional Guidance: Consult with experts like All Day Sauna Co. for installation advice and product recommendations.
Frequently Asked Questions
How often should I oil the exterior of my outdoor sauna?
You should oil the exterior of your outdoor sauna at least once a year. This protects the wood from UV damage and moisture. More frequent application may be needed in harsh climates.
Can I install a sauna on a wooden deck?
Installing a sauna on a wooden deck is possible but requires careful consideration of weight distribution and heat protection. The deck must be structurally sound and heat-resistant. Consult a professional before proceeding.
What is the best way to clean sauna rocks?
Remove the rocks and brush off debris. Soak them in a vinegar and water solution to remove mineral deposits. Rinse thoroughly and let them dry before placing them back in the heater.
Do I need a permit to install a backyard sauna?
Permit requirements vary by location. Many jurisdictions require permits for outdoor structures over a certain size or for electrical work. Check with your local building department before installation.
How do I prevent mold in my sauna?
Prevent mold by ensuring proper ventilation after each use. Leave the door and vents open to allow the sauna to dry completely. Regular cleaning with mild soap also helps prevent mold growth.
What type of wood is best for a sauna?
Cedar and hemlock are the most common woods used for saunas. They are resistant to rot and have a pleasant aroma. Cedar is more durable and expensive, while hemlock is a cost-effective alternative.
How long do sauna heaters last?
With proper maintenance, a sauna heater can last 10 to 15 years or more. Regular inspection of the elements and wiring can extend its lifespan and ensure safe operation.
Start Your Sauna Journey Today
Avoiding these common mistakes ensures your backyard sauna remains a safe, durable, and enjoyable retreat. At All Day Sauna Co., we provide premium saunas, hats, and accessories designed for longevity and comfort. Our team is ready to help you navigate the installation process and choose the right products for your needs. Book a call with us to discuss your project and explore our full collection of sauna essentials.